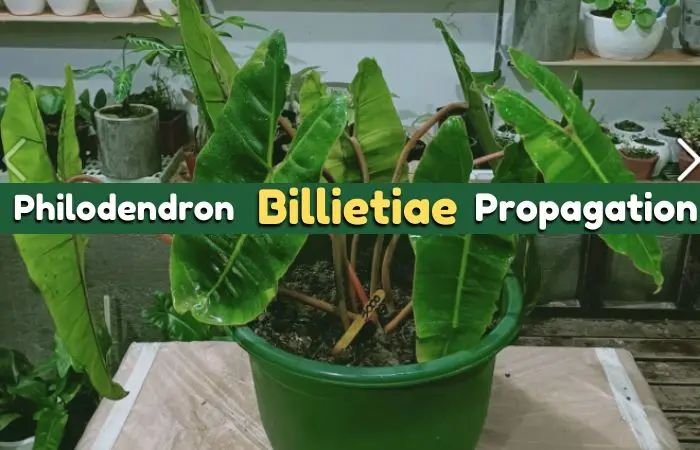
Grow Philodendron Billietiae Like a Pro – Shocking Propagation Tips Inside!
Last Sunday, my friend visited my house and saw my beautiful philodendron billietiae plant. Then she gave me the idea of propagating the billietiae. Initially, I found it a little bit complicated. But after doing it by myself I got it super easy.
You can propagate your philodendron billietiae by stem-cutting where you just need to cut a 2 to 4 inches stem having at least two leaves so that at least one leaf node can be grown on it. Then place the cutting into a potting mix. Or, you can also place it in a water pot and after rooting it out, place it into a soil pot if the previous method doesn’t work.
Billietiae plants will appear with unique green leaves that will make a special appearance in your house or garden. Now let’s discuss the process in more detail.
Philodendron Billietiae Overview
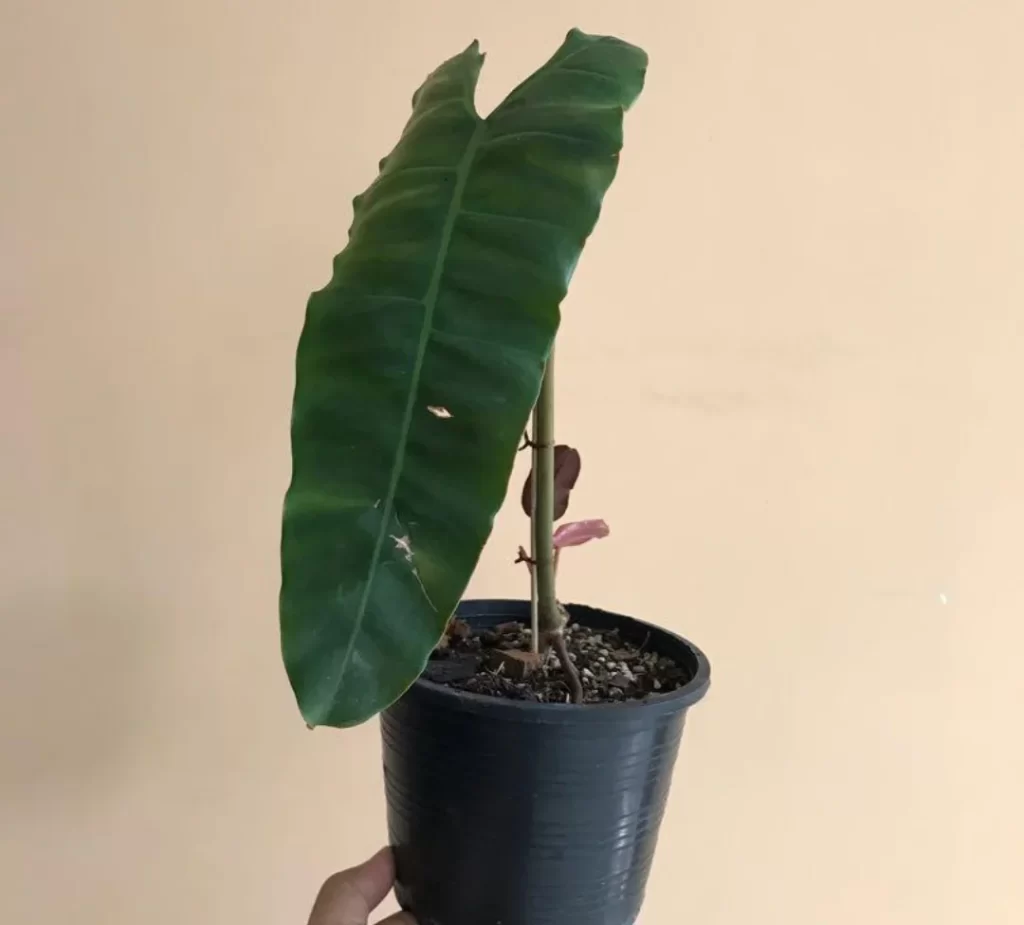
The philodendron billietiae plant is consistently chosen as a houseplant because of its appearance. Take a quick view of some basic characteristics of it here.
| Topics | Description |
| Scientific name | Philodendron billietiae. |
| Common name | Philodendron billietiae, Philodendron bipinnatifidum billietiae, Philodendron sp. billietiae |
| Family | Aracea. |
| Originated area | Brazil, Costa Rica, and French Guyana. |
| Plant-type | Perennial, vine, climbing, and trailing. |
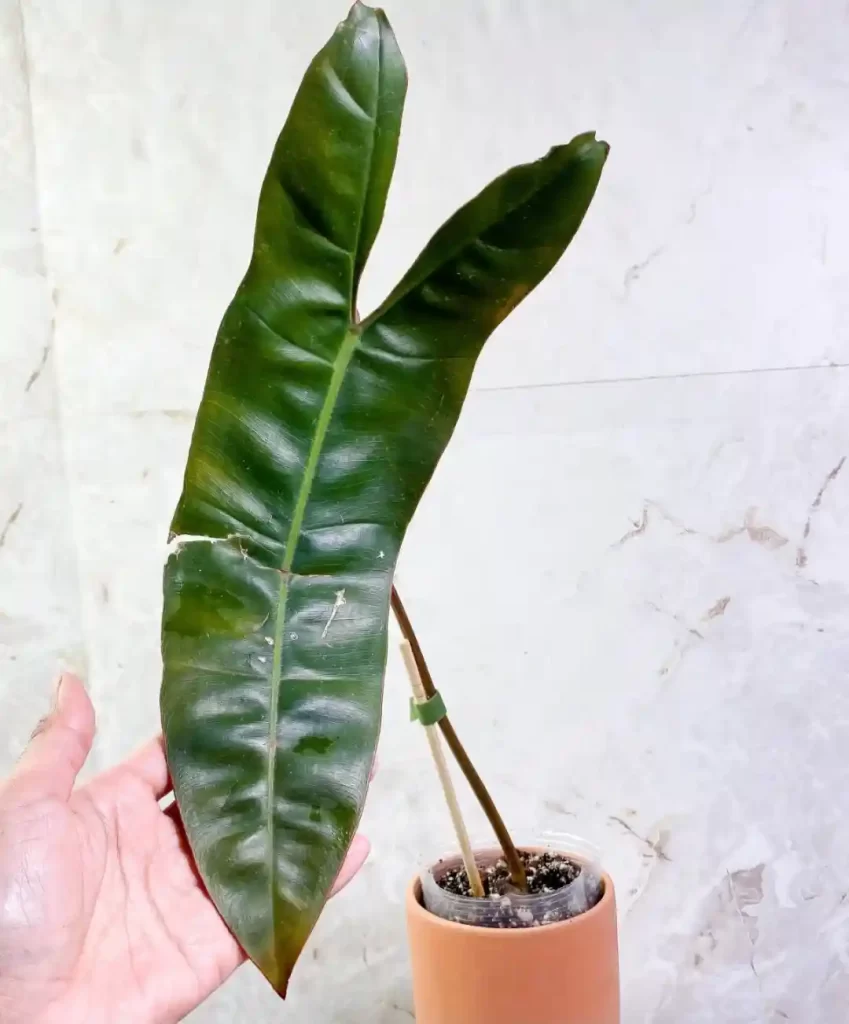
| Types of leaf | Giant, glossy green, and arrow-shaped or heart-shaped. |
| Mature size | The average height is 3 to 7 feet long and the width is 7 inches to 3 feet. |
| Time of growth | Spring and Summer. |
| Toxicity | Toxic if ingested. |
How do you know if your plant is ready for propagation?
Some indications make us understand the preparation for propagation. Take a look at some points to get assurance that the plant is ready to propagate.
1. Healthy Growth: The billietiae plant is a plant of an average of 3 feet tall as indoors and 5 to 6 feet outdoors.
Again 7 to 8 inches wide indoors and 3 to 4 feet outdoors. When you find a billietiae of this size you can consider your plant for propagation.
2. Maturity stage: If you can see the roots coming out of the water drainage holes of the pot, then it is considered as matured and needs repotting. At this stage, it also needs to be propagated.
3. Watering condition: You may find that the soil dries faster than before. So you need to water the plant more often than before which means your plant has become mature and can be considered for propagation.
Here are the steps from which we can know the proper time to propagate the plant as well as repotting.
Tools needed for propagation
| Sharp cutting tools | A pair of sharp scissors or a knife is a must and they have to be disinfected to avoid any type of disease or improper propagation. |
| Water pot | It is used in the water propagation method to root the cuttings into the water. |
| Mixing/soil pot | A mixing pot is needed in which the soil can be ready by mixing the suitable soil and fertilizer accordingly. |
| Watering can | A watering can is used to keep watering the plants after a particular time to avoid the soil from drying out completely. |
How to propagate a philodendron billietiae?
The philodendron billietiae is a rare plant. So why do not we propagate this plant to fill the home with oxygen-rich air? There are two ways to propagate these plants. I will discuss both methods below and you can pick one you prefer most. The name of the methods are-
- Using stem cuttings.
- Using air layering.
Propagation by using stem cuttings
Taking stem cutting and rooting in soil or water is one of the easiest ways to propagate the plant. So, there is a good chance of success with this method.
Step-1: Getting the proper cutting: To have a better chance of rooting system, the stem cutting should be proper. So, you have to make a clean cut of two to four inches in length having at least two leaves and one leaf node from a healthy plant.

The cutting shear or knife should be sharp to make a clean cut and sterilized to prevent any infection. You can sterilize the cutting tool by using isopropyl alcohol.
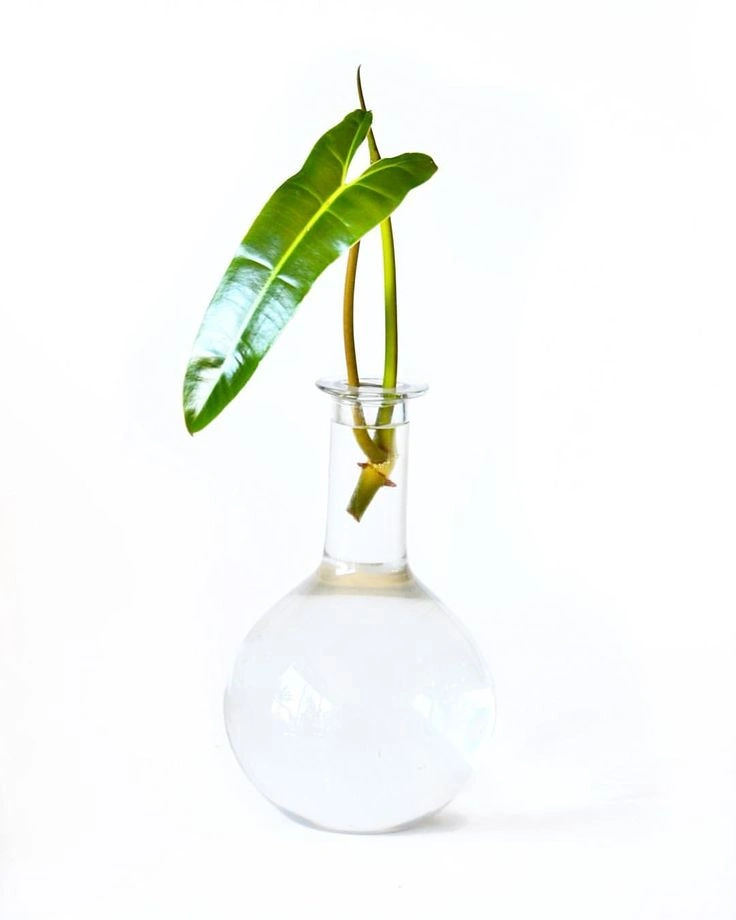
Step-2: Rooting the stem cutting: For rooting, place the cutting in a container having water or sphagnum depending on personal preference. Make sure that the bottom nodes are covered with water or moss and the top leaves are above the surface of the water or moss.
Then keep the container in a warm and humid place. Ensure the moss is kept evenly moist and wait for at least seven days until the roots are at least 1 to 2 inches long.
Step-3: Transferring the rooted cutting: After about a week, get the rooted cutting and plant it into the appropriate potting mix by making a 1 or 2 inches deep hole into the soil using your finger. Then pack the soil around it loosely.
Make sure that the pot must have a sound drainage system to drain excess water and the soil must be moist but not soggy containing perlite, peat moss, orchid bark, and charcoal.
Step-4: Providing optimum condition: Then place the pot in a bright place with sufficient indirect sunlight for better growth. Don’t let the soil dry or overwatered.
So you can keep watering once or twice a week or if about 2 inches of the top of the potting mix is dry. Besides, If the cutting doesn’t hold itself up, tie it to a straw to support it.
Propagation by using air layering
Air layering is another method to propagate the philodendron billietiae. This method is a very slow process. Still, this method is used as it is an effective way and the chance of being successful is more.
Step-1: Preparation of cutting for air layering: Air layering is done by cutting the stem partially around 1.5 to 2 inches below a node and a thick toothpick is used to support and keep the cut open with the mother plant.
The mother plant should be healthy and the cutting tool used must be sterilized. You can use isopropyl alcohol to sterilize the tool.
Step-2: Preparation of the wound cutting: Then, get a handful of moist sphagnum peat moss and cover the partial cut with it. Ensure the moss is damp to help the new growth.
You should keep in mind that if the peat moss doesn’t stick to the wound, you can tie a strand around the stem and wound to attach the moss.
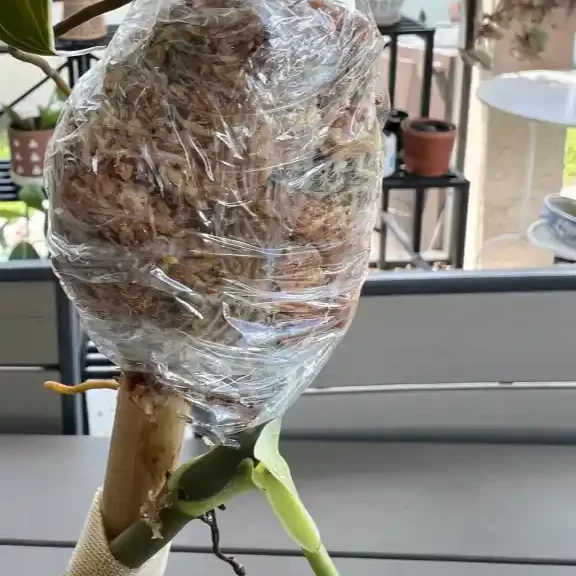
Step-3: Sealing of the wound part: After warping enough moss, seal the moss ball with any plastic wrap or foil paper. Use duct tape to seal the wrap ends. Ensure that the plastic wrap is not too loose or tight to hold the moss.
Place the plant in a sufficient condition having bright indirect sunlight and water and wait for rooting the wound part. It can take several months to grow the roots long enough to plant.
Step-4: Separation of the rooted layered cutting: After several months when the roots are about two to three inches long, the layering is done and they’re ready to plant. you will be able to see new root growth through the plastic wrap.
Then separate the layered plant by using any sharp and disinfected cutting tool below the layered area. A blunt and infected cutting tool causes a hamper to the plant.
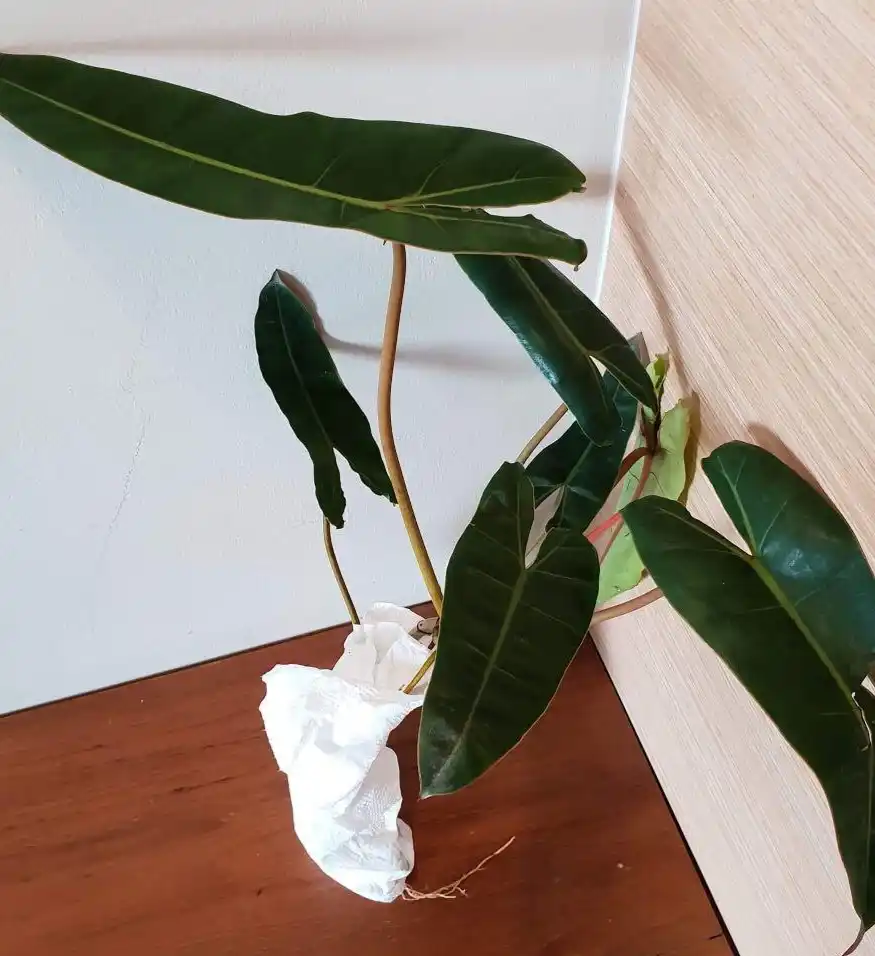
Step-5: Placing the layered baby plant into the potting mix: Remove the tape and the plastic wrap gently after separating the layered stem.
Be very cautious while removing these as they’re fragile and can get damaged. Then place the layered stem with the moss ball in the potting mix.
Step-6: Providing optimum condition: Then place the pot in a bright place with sufficient indirect sunlight for better growth and don’t let the soil dry or over-watered. So you can keep watering once or twice a week or if about 2 inches of the top of the potting mix is dry.
Make sure that the pot must have a sound drainage system to drain excess water and the soil must be moist but soggy containing perlite, peat moss, orchid bark, and charcoal.
Which method is best to propagate the billietiae plant?
We know there are mainly two ways to propagate a philodendron billietiae plant. They are rooting from the cuttings in water or soil and air layering and each method has its unique benefits.
Propagation by taking stem cuttings is usually the most common method for everyone as it is very simple and easy. It is a faster method than any other method.
However, propagation by air layering is an effective way as the cut part is partially attached to the mother plant which gives support and encourages the root growth. So, the chance of being successful is more.
So after studying all the benefits, give thought to which method will be easy and best for you and your philodendron billietiae.
Precautions during propagation
Though the propagation of a billietiae plant is very simple and easy, some precautions have to be taken care of.
- The cutting scissors or the knife should be sharp enough to cut the stem from the knife smoothly. Also, it should be disinfected so that the cutting stem should not get affected by any kind of bacteria.
- The leaves should be removed from the bottom of the stem and not from the top of the stem.
- The water used in the propagation should change at least once a week to give fresh water to the plant for healthy growth.
Tips to take care of Philodendron billietiae after propagation
Philodendron billietiae needs little ongoing care. Some special care should be taken to the newly potted atom plant for proper growth and maturity. They are given below.
- Location with sunlight: To grow, a philodendron billietiae requires bright and indirect sunlight. But, in the case of outdoors, they should be kept away from direct sunlight to prevent sunburn.
Again, in the case of indoors, the plant has to keep to the brightest area with indirect sunlight.
- Water: Philodendron billietiae plants are very acquisitive to water. So, watering is needed around 1 or 2 times a week or if 2 inches of the top of the potting mix is dry.
- Temperature: Around 21°C to 28°C is best for growth. But keep in mind that extremely warm or cool temperatures can hurt the plant. So, don’t place the plant close to any heater or air conditioner.
- Humidity: Atoms enjoy 50%-65% humidity. So, you can keep the environment humid enough by using humidity trays or placing your plant on a tray with pebbles and water.
- Fertilization: A slow-release fertilizer is the best choice for fertilizing a billietiae plant and it is not needed to fertilize the plant often. You can feed them once a month in their growing season. Otherwise, you can fertilize every two to three months.
Besides, make sure that you dilute the fertilizer to half or quarter strength and that the soil is moist during fertilization. Or else, it will burn the plant. The fertilizer should contain all the major macronutrients like nitrogen, phosphorus, and potassium.
- Control pests: Though billietiae isn’t a pest magnet, sometimes two pests named aphids and mealybugs can attack healthy plants due to improper care.
To control these pests, you can use a solution of neem oil, or any insecticide by spraying them on the plants.
- Control common problems: Sometimes, billietiae plants also may face some diseases like white drooping leaves, stem dieback, root rot, etc. due to improper precautions and care.
To avoid these problems we have to take very special care and precautions for healthy plants.
Final thoughts
Gradually, you have reached the end of the discussion. From the entire discussion, let’s recap what we get from this article.
- The philodendron billietiae propagation system is undoubtedly a simple process as you need not gather much equipment.
- Among all the methods, stem cutting is the easiest way to propagate the billietiae plant.
- You need to give a little attention to maintenance. But a pretty look will be provided in your room by their green glace.
Understanding all the points, you just need to take little care and precautions with the plant to avoid damage, choose the best one for yourselves, and have a delightful journey with a philodendron billietiae plant.
Wait!! Wait!! You are reaching at the end of the article. You can also read our step-by-step propagation guide on Philodendron cordatum propagation